Hardwood Floor Installation Labor Cost: A Full Breakdown
If you’re a homeowner in the Washington, D.C. area, you know that costs here can be a little different from the national average. From historic homes in Georgetown to modern condos in Columbia Heights, every project has its unique challenges. When you start researching the hardwood floor installation labor cost, it’s important to look at local figures to create an accurate budget. Factors like higher demand and the specific requirements of older buildings can influence the price. We’ll break down what you can expect to pay for professional installation right here in the D.C. metro area, ensuring you have the information you need to plan your project effectively.
Key Takeaways
Set a Realistic Budget for Labor: Remember that professional installation is a major part of your total flooring cost, often running from $4 to $8 per square foot. Plan for this expense from the start to avoid surprises.
Know What Influences the Price: Your final labor quote depends on more than just room size. Factors like subfloor condition, intricate patterns like herringbone, and your choice of wood all impact the time and skill required for the job.
Get Detailed, All-Inclusive Quotes: When hiring a professional, ensure their quote breaks down every cost, including removing old floors, subfloor prep, and trim. Always get a written contract to protect your investment.
How Much Does Hardwood Floor Installation Labor Cost?
When you’re budgeting for new hardwood floors, it’s easy to focus on the price of the wood itself. But the cost of professional installation is a huge part of the equation—and it’s what ensures your beautiful new floors look amazing and last for decades. Labor costs can vary quite a bit depending on your location, the complexity of the job, and the type of flooring you choose. Understanding these costs is the first step to planning your project without any last-minute surprises. Let’s break down what you can expect to pay for labor, both on a national level and right here in the D.C. metro area.
The National Average Cost Per Square Foot
Across the country, labor for hardwood floor installation typically runs between $4 to $8 per square foot. This is a significant portion of your budget, often accounting for 50% to 70% of the total project expense. When you factor in both materials and labor, the complete installation cost generally lands somewhere between $6 and $25 per square foot. A recent cost guide from Angi found that most homeowners pay between $2,469 and $7,032 for the entire project. This national average provides a helpful baseline as you begin to map out your budget.
Local Costs in the D.C. Metro Area
While national figures are a great starting point, costs in the Washington, D.C. area often trend a bit higher. It’s common for labor rates in major metropolitan areas to be more expensive due to a higher cost of living and greater demand. For homeowners in D.C. neighborhoods from Dupont Circle to Anacostia, it’s wise to anticipate costs that lean toward the upper end of the national spectrum. Local estimates often place the installation range between $6 and $12 per square foot. The only way to know for sure is to get a detailed quote from a local professional. Our team specializes in high-quality flooring and can give you a precise estimate tailored to your home.
What Factors Affect Labor Costs?
When you get a quote for hardwood floor installation, the labor portion isn't just a random number. It’s a thoughtful calculation based on the unique details of your space and the materials you’ve chosen. Several key factors can influence the time, skill, and effort required for the job, which in turn shapes the final cost. A professional installer considers everything from the type of wood to the complexity of your room's layout before putting together an estimate.
Understanding these variables helps you see exactly where your money is going and allows you to make informed decisions about your project. It’s the difference between a floor that looks good for a year and one that looks beautiful for decades. A seemingly simple project can have hidden complexities that require more intensive labor, while a larger, more open space might be more straightforward than you think. From the type of wood you select to the condition of your subfloor and the intricate pattern you've been dreaming of, let's break down what goes into a professional labor estimate. This way, you can plan your budget with confidence and know what to expect every step of the way.
Your Choice of Wood and Plank Size
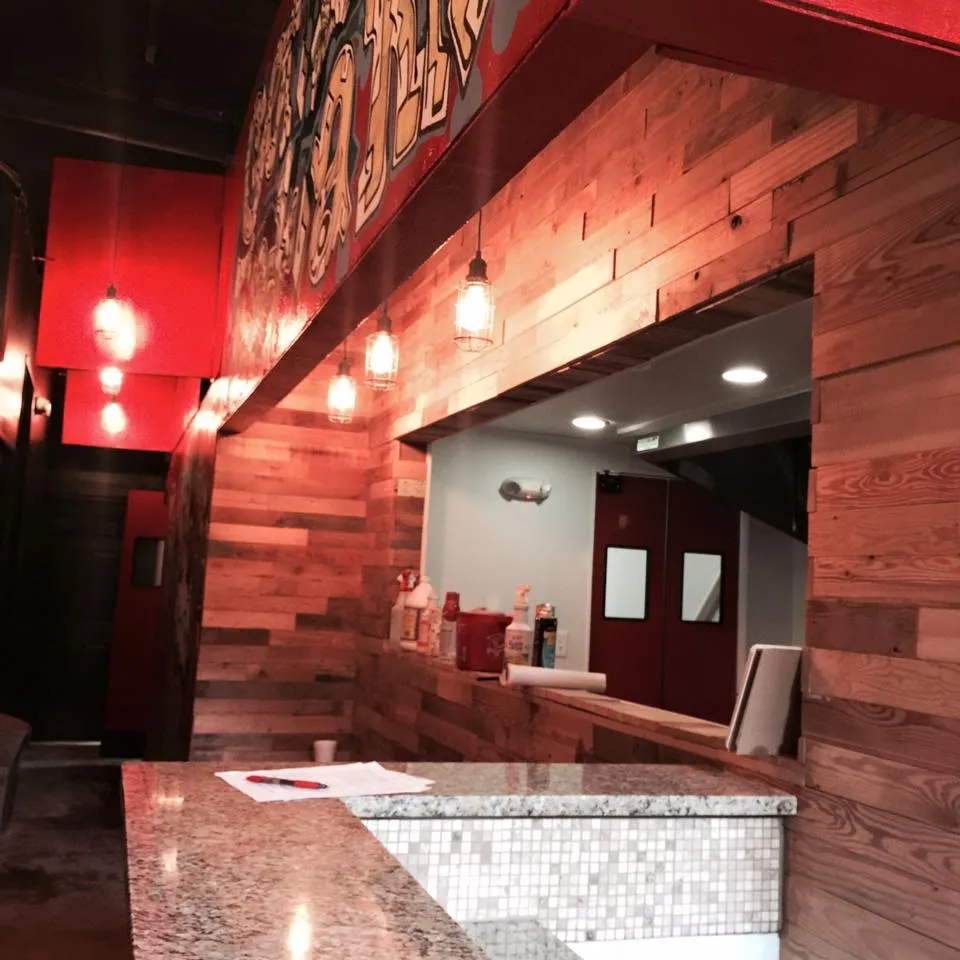
The beautiful hardwood you pick out does more than just set the style for your room; it also influences the installation workload. Domestic woods like oak or maple are typically more straightforward to work with. However, if you opt for harder, exotic woods like Brazilian cherry or teak, installers may need specialized tools and more time to cut and place each plank perfectly. Wider planks can sometimes be installed faster, but they also require a perfectly level subfloor to avoid gaps. The complexity of the material itself is a major factor in the skill and time your flooring project will demand from a professional crew.
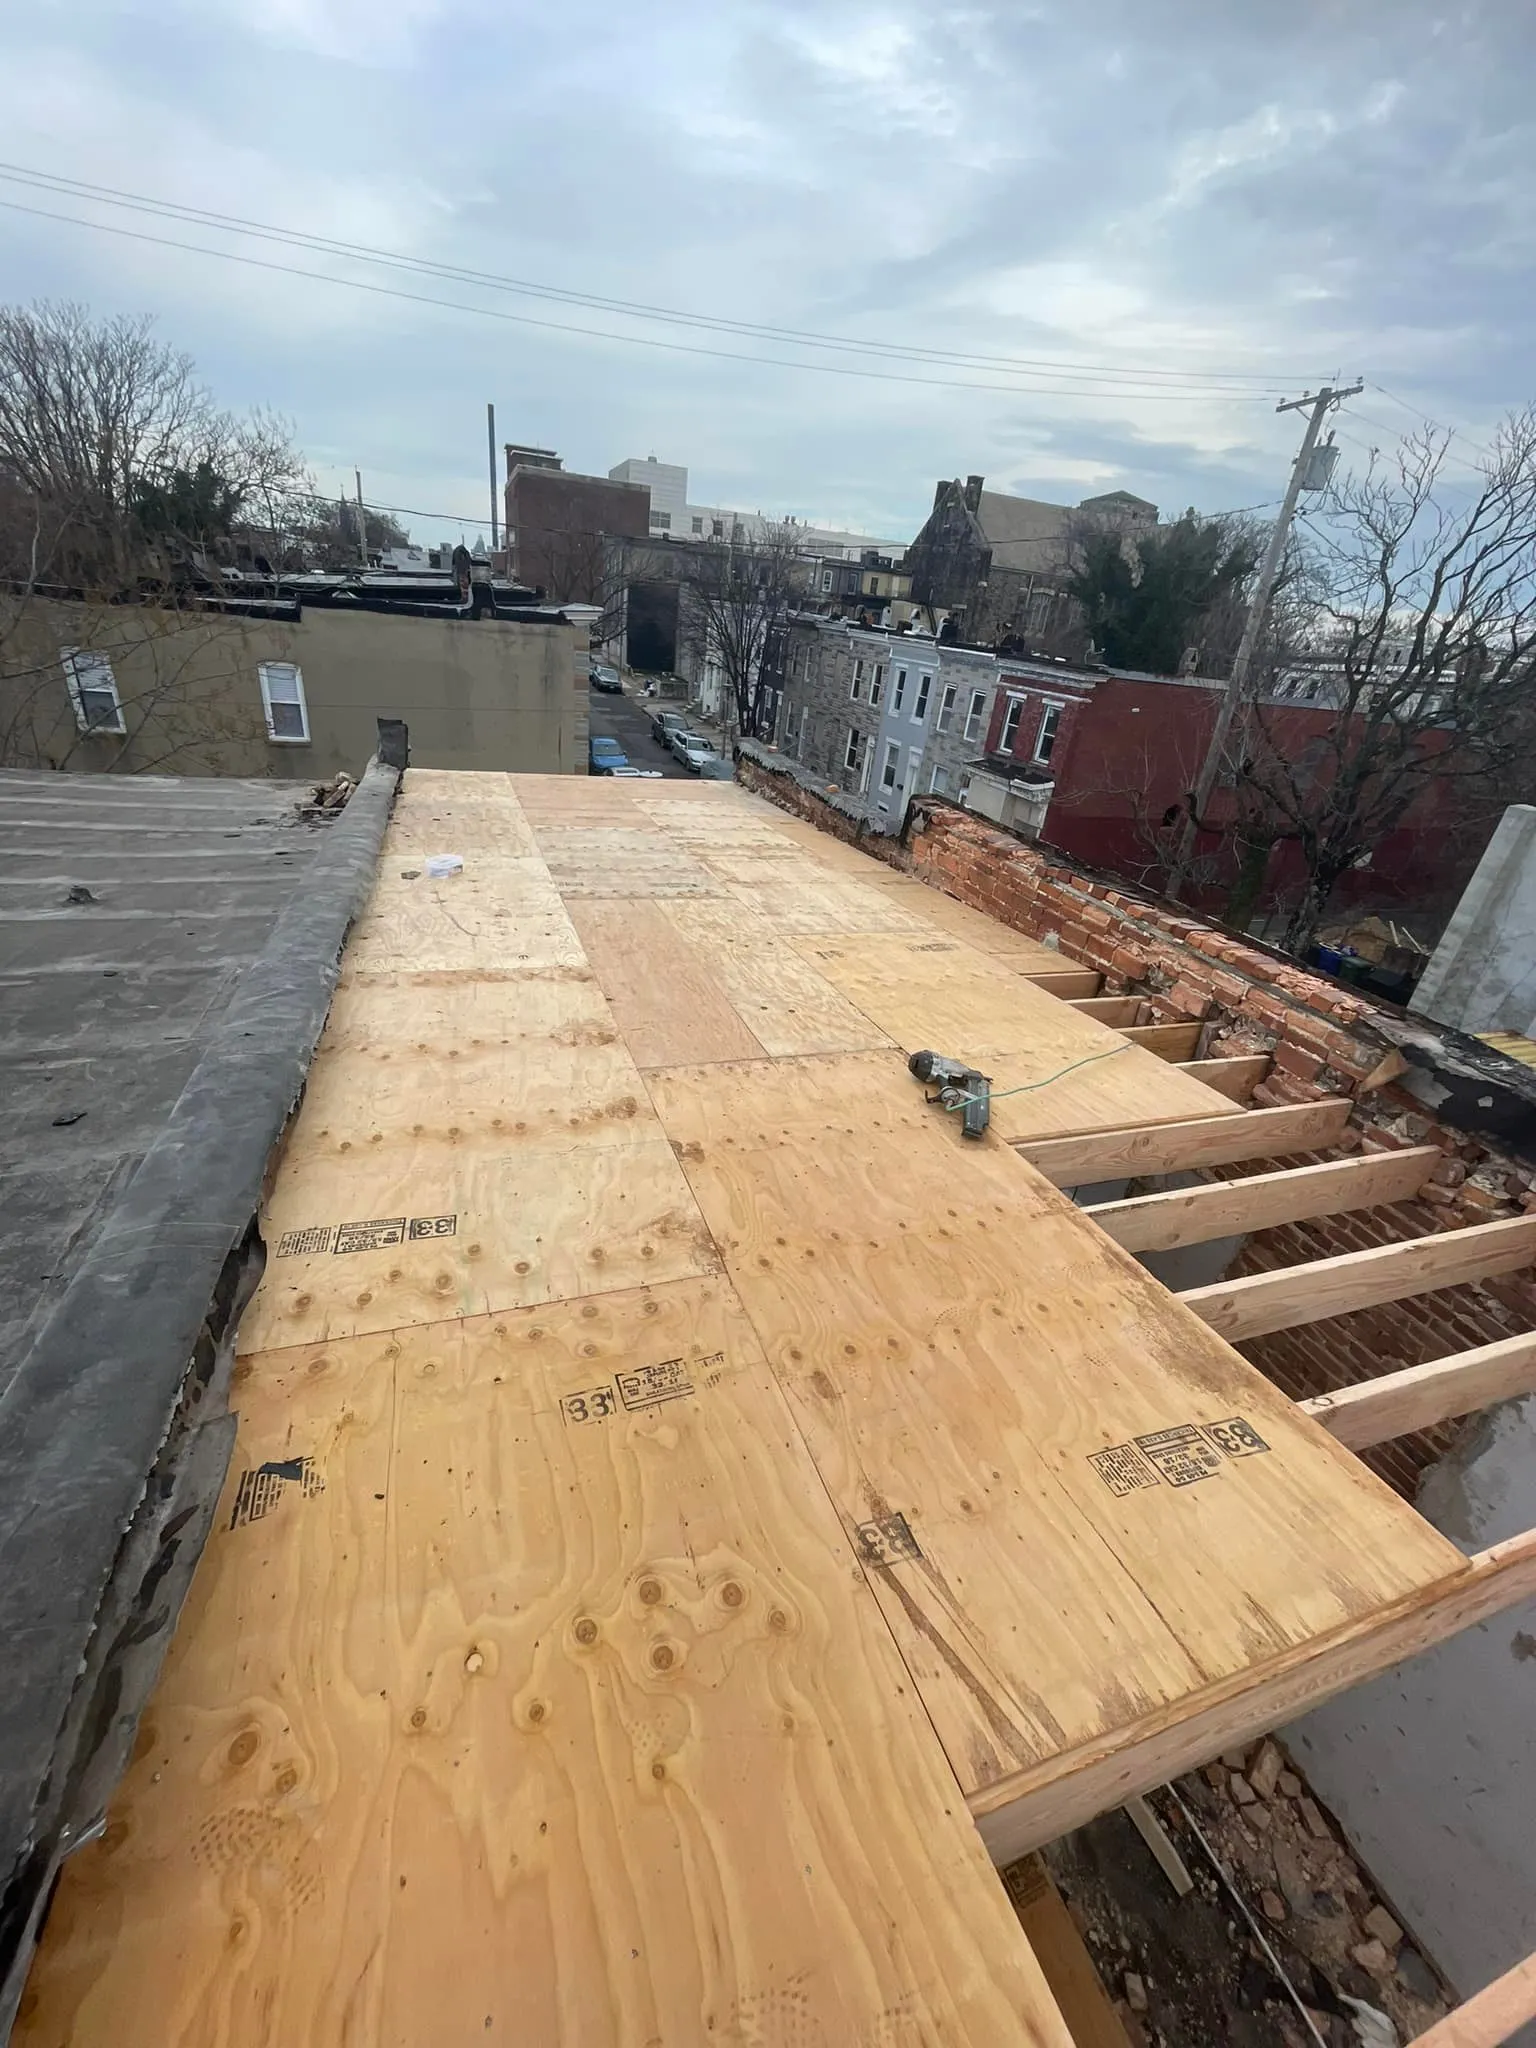
The State of Your Subfloor
What lies beneath your new floors is just as important as the floors themselves. A clean, level, and structurally sound subfloor is the foundation for a lasting installation. If your existing subfloor is uneven, damaged, or has moisture issues, it will need to be addressed before any new hardwood can be laid. This preparation work, which can involve leveling compounds, repairs, or installing a moisture barrier, adds to the labor hours. While it might seem like an annoying extra step, proper subfloor prep is non-negotiable for preventing creaks, gaps, and warping down the line, protecting your long-term investment.
Your Room's Size and Layout
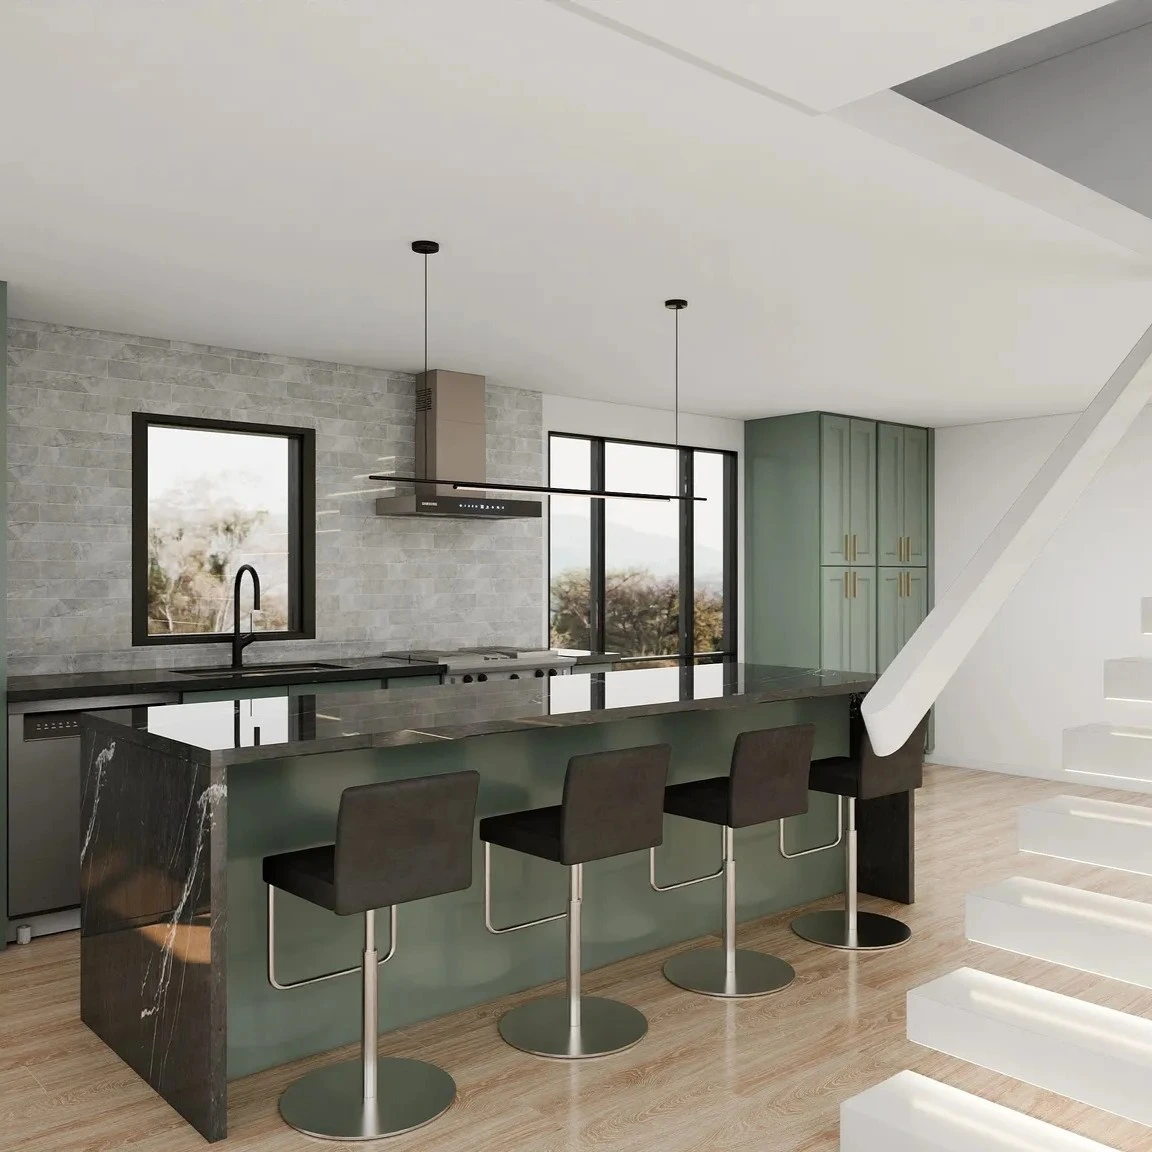
It makes sense that a larger room costs more to floor than a smaller one, but the room's layout is just as critical. A simple, square or rectangular room is the most efficient to work in. However, a room with an irregular shape, multiple closets, an entryway, or architectural features like a fireplace requires significantly more cuts and precision work. Each corner and angle means your installer has to stop, measure, and make a custom cut. This detailed labor naturally takes more time, which will be reflected in the overall cost of your remodeling project.
Installation Method and Pattern
How you want your planks arranged can dramatically change the labor involved. A standard, straight-lay pattern is the quickest and most cost-effective option. But if you’re dreaming of a more intricate design like a herringbone or chevron pattern, get ready for the labor cost to increase. These patterns require meticulous planning, precise angled cuts, and a much slower installation process to get right. Your dedicated Project Manager can walk you through how different patterns and installation methods—like nail-down versus glue-down—will impact both the timeline and the budget for your project, ensuring there are no surprises.
How Do Different Installation Methods Affect Labor Costs?
The way your new hardwood floors are installed isn't just a technical detail—it's one of the biggest drivers of your final labor cost. Think of it like this: some methods are straightforward and quick, while others require more time, precision, and specialized materials. Understanding the difference between nail-down, glue-down, and floating installations will help you see exactly where your money is going and make an informed choice for your home. Each method has its own set of pros, cons, and price points, which can significantly change the total on your project quote.
For example, a complex glue-down installation on a concrete slab in a Georgetown basement will have a different labor cost than a simple floating floor in a square Columbia Heights bedroom. The right method often depends on your subfloor type (wood vs. concrete), the kind of hardwood you’ve chosen (solid vs. engineered), and your budget. A professional contractor can recommend the best approach, but knowing the basics empowers you to ask the right questions. Below, we’ll break down what you can expect to pay for each of these common flooring installation techniques so you can plan your project with confidence.
The Cost of Nail-Down Installation
This is the classic, time-tested method for installing solid hardwood floors. As the name suggests, a nail-down installation involves using a special flooring nailer to fasten each plank directly to your wooden subfloor. It creates an incredibly durable and long-lasting floor that feels solid underfoot. Because it requires skill and specialized tools, labor costs typically run from $4 to $8 per square foot. The final price can depend on the hardness of the wood you choose (some are tougher to nail than others) and the condition of your subfloor. This method is a fantastic choice for most residential construction projects where you want a floor that will last for generations.
The Cost of Glue-Down Installation
A glue-down installation is exactly what it sounds like: a powerful adhesive is spread over the subfloor, and each plank is carefully set into place. This method is often necessary when installing engineered hardwood over a concrete subfloor, a common scenario in D.C. basements and condos. It’s the most labor-intensive of the three, which is why costs are higher, generally ranging from $6 to $10 per square foot. The process requires meticulous subfloor prep and precise application to ensure a strong, even bond without any messy glue seepage. According to the National Wood Flooring Association, proper adhesive selection and application are critical for success.
The Cost of Floating Floor Installation
If you’re looking for the most budget-friendly option, a floating floor is usually the answer. In this method, the planks aren't attached to the subfloor at all. Instead, they click or lock together and "float" on top of a thin layer of underlayment. This makes it the fastest and simplest installation, with labor costs typically falling between $2 and $5 per square foot. It’s a popular choice for engineered wood and luxury vinyl plank flooring, and it can be installed over almost any existing flat surface. This versatility and lower cost make it a go-to for many remodeling projects where speed and budget are key considerations.
Don't Forget These Additional Costs
When you’re budgeting for new hardwood floors, the cost of the wood and the main installation labor are the big-ticket items. But it’s the smaller, additional costs that can catch you by surprise if you’re not prepared. Thinking through the entire process, from tear-out to the final touches, helps you create a realistic budget with no hidden fees. A professional contractor will include these items in their quote, but it’s smart to know what they are and why they’re important for a high-quality, lasting installation. Let’s walk through the common costs that are easy to overlook.
Removing and Disposing of Old Floors
Before your beautiful new hardwood can go in, the old flooring has to come out. Whether it’s worn-out carpet, cracked tile, or old laminate, the removal and disposal process is a crucial first step. This task involves more than just pulling up the old material; it requires careful work to avoid damaging the subfloor underneath. You can expect this part of the job to add an additional $1 to $3 per square foot to your project total. Factoring in the cost for proper disposal ensures your project starts with a clean slate and proceeds without a hitch.
Subfloor Prep and Repairs
The subfloor is the foundation of your new hardwood, and its condition is non-negotiable. A flat, stable, and dry subfloor is essential for preventing squeaks, gaps, and warping down the line. Before installation, your contractor will need to assess it and make any necessary repairs. This preparation can involve leveling uneven spots, securing loose panels, or adding a moisture barrier to protect the wood. This critical step can add an extra $1 to $2 per square foot, but investing in a solid foundation is one of the smartest decisions you can make for the longevity of your new floors.
Finishing Touches: Trim and Underlayment
The details are what give your new floors a polished, professional look. Underlayment is a thin layer of material installed between the subfloor and the hardwood. It provides cushioning, soundproofing, and moisture protection, and typically costs between $0.30 to $0.80 per square foot. After the planks are laid, new baseboards or shoe molding will be installed to cover the expansion gaps along the walls. This trim work is essential for a seamless transition from floor to wall and truly completes the room’s transformation.
Tackling Stairs and Special Features
If your project includes a staircase, be prepared for that to be a separate line item on your quote. Installing hardwood on stairs is a meticulous, time-consuming process that requires precise cuts and a high level of skill. Because of the complexity, contractors often charge per stair, with costs ranging from $100 to $200 each. While it’s an added expense, matching your stairs to your new hardwood flooring creates a cohesive and elegant look that flows beautifully through your home. It’s an investment that makes a significant visual impact.
Should You Hire a Pro or DIY?
Deciding between installing your new hardwood floors yourself and hiring a professional is one of the biggest choices you'll make in your remodeling project. It’s a classic trade-off between saving money and saving time, effort, and potential headaches. While rolling up your sleeves can be rewarding, flooring installation is a precise skill. Before you start pulling up your old carpet, let’s walk through what each path really looks like so you can make the best decision for your home and your budget.
The Truth About DIY Savings
Let's be honest: the biggest draw for any DIY project is saving money. When you handle the installation yourself, you completely eliminate labor costs, which can be a significant chunk of the total project price. One of the most appealing aspects of DIY installation is that without those labor costs, you can allocate more of your budget toward higher-quality materials. That money you save could be the difference between the standard oak you thought you could afford and the beautiful hickory you’ve been dreaming of. However, it's important to factor in the cost of tools you'll need to rent or buy, as well as the value of your own time.
Why Hiring a Pro Pays Off
While the savings of a DIY project are tempting, there’s a reason professional labor costs what it does. Labor expenses can account for 50% to 70% of the total cost because hardwood flooring installation requires precision and skill to ensure a long-lasting finish. A professional has the experience to anticipate challenges, like an uneven subfloor or a tricky room layout, and handle them correctly. They have the right tools for a flawless job and can complete the work far more efficiently. Hiring a pro protects your investment, preventing costly mistakes like gapping, buckling, or squeaking that can surface months later and require a complete do-over.
How to Get and Compare Quotes
If you’re leaning toward hiring a professional, your next step is to gather quotes. Contractors customarily charge for labor by the square foot, and you can expect to pay between $4 and $8 per square foot for installation. We always recommend getting at least three detailed quotes from reputable contractors. When comparing them, don't just look at the final number. Check what each quote includes—are old floor removal, subfloor prep, and trim installation part of the price? A dedicated project manager can be invaluable here, helping you vet contractors and compare bids to ensure you’re getting a fair price for quality work.
The Best Time to Schedule Your Project
You can install hardwood floors any time of year, but a little strategic planning can make the process smoother. Home improvement contractors are often busiest during the spring and fall. If you can be flexible, scheduling your project during a slower season, like late winter, might mean more availability and quicker start times. The most important factor, however, is finding a contractor who can work with your timeline and clearly communicate how long the project will take. This helps you plan accordingly and minimizes disruption to your daily life, ensuring your home is back to normal as quickly as possible.
How to Hire the Right Flooring Contractor
Finding the right person for the job is just as important as picking the perfect hardwood. The quality of the installation determines how your floors will look and perform for years to come. A great contractor ensures a smooth process from start to finish, while the wrong one can lead to headaches, delays, and costly mistakes. So, how do you sort through the options and find a true professional you can trust? It comes down to doing a little homework, asking the right questions, and making sure everything is crystal clear before any work begins. Let's walk through the steps to find a flooring expert who will bring your vision to life.
Checking Qualifications and Experience
Before you even start talking about quotes, do a background check. You want a contractor with a solid, verifiable history of successful flooring installations. Look for a company that is licensed and insured in the D.C. area—this is non-negotiable and protects you from liability. A seasoned professional will have a portfolio of past projects they’re proud to show off. Ask to see examples, especially for jobs similar to yours. Experience often dictates the cost of labor, which can range from $2 to $8 per square foot depending on the project's complexity. A more experienced team might cost more, but their efficiency and skill can prevent expensive errors down the line. Don't forget to check online reviews and ask for local references you can actually call.
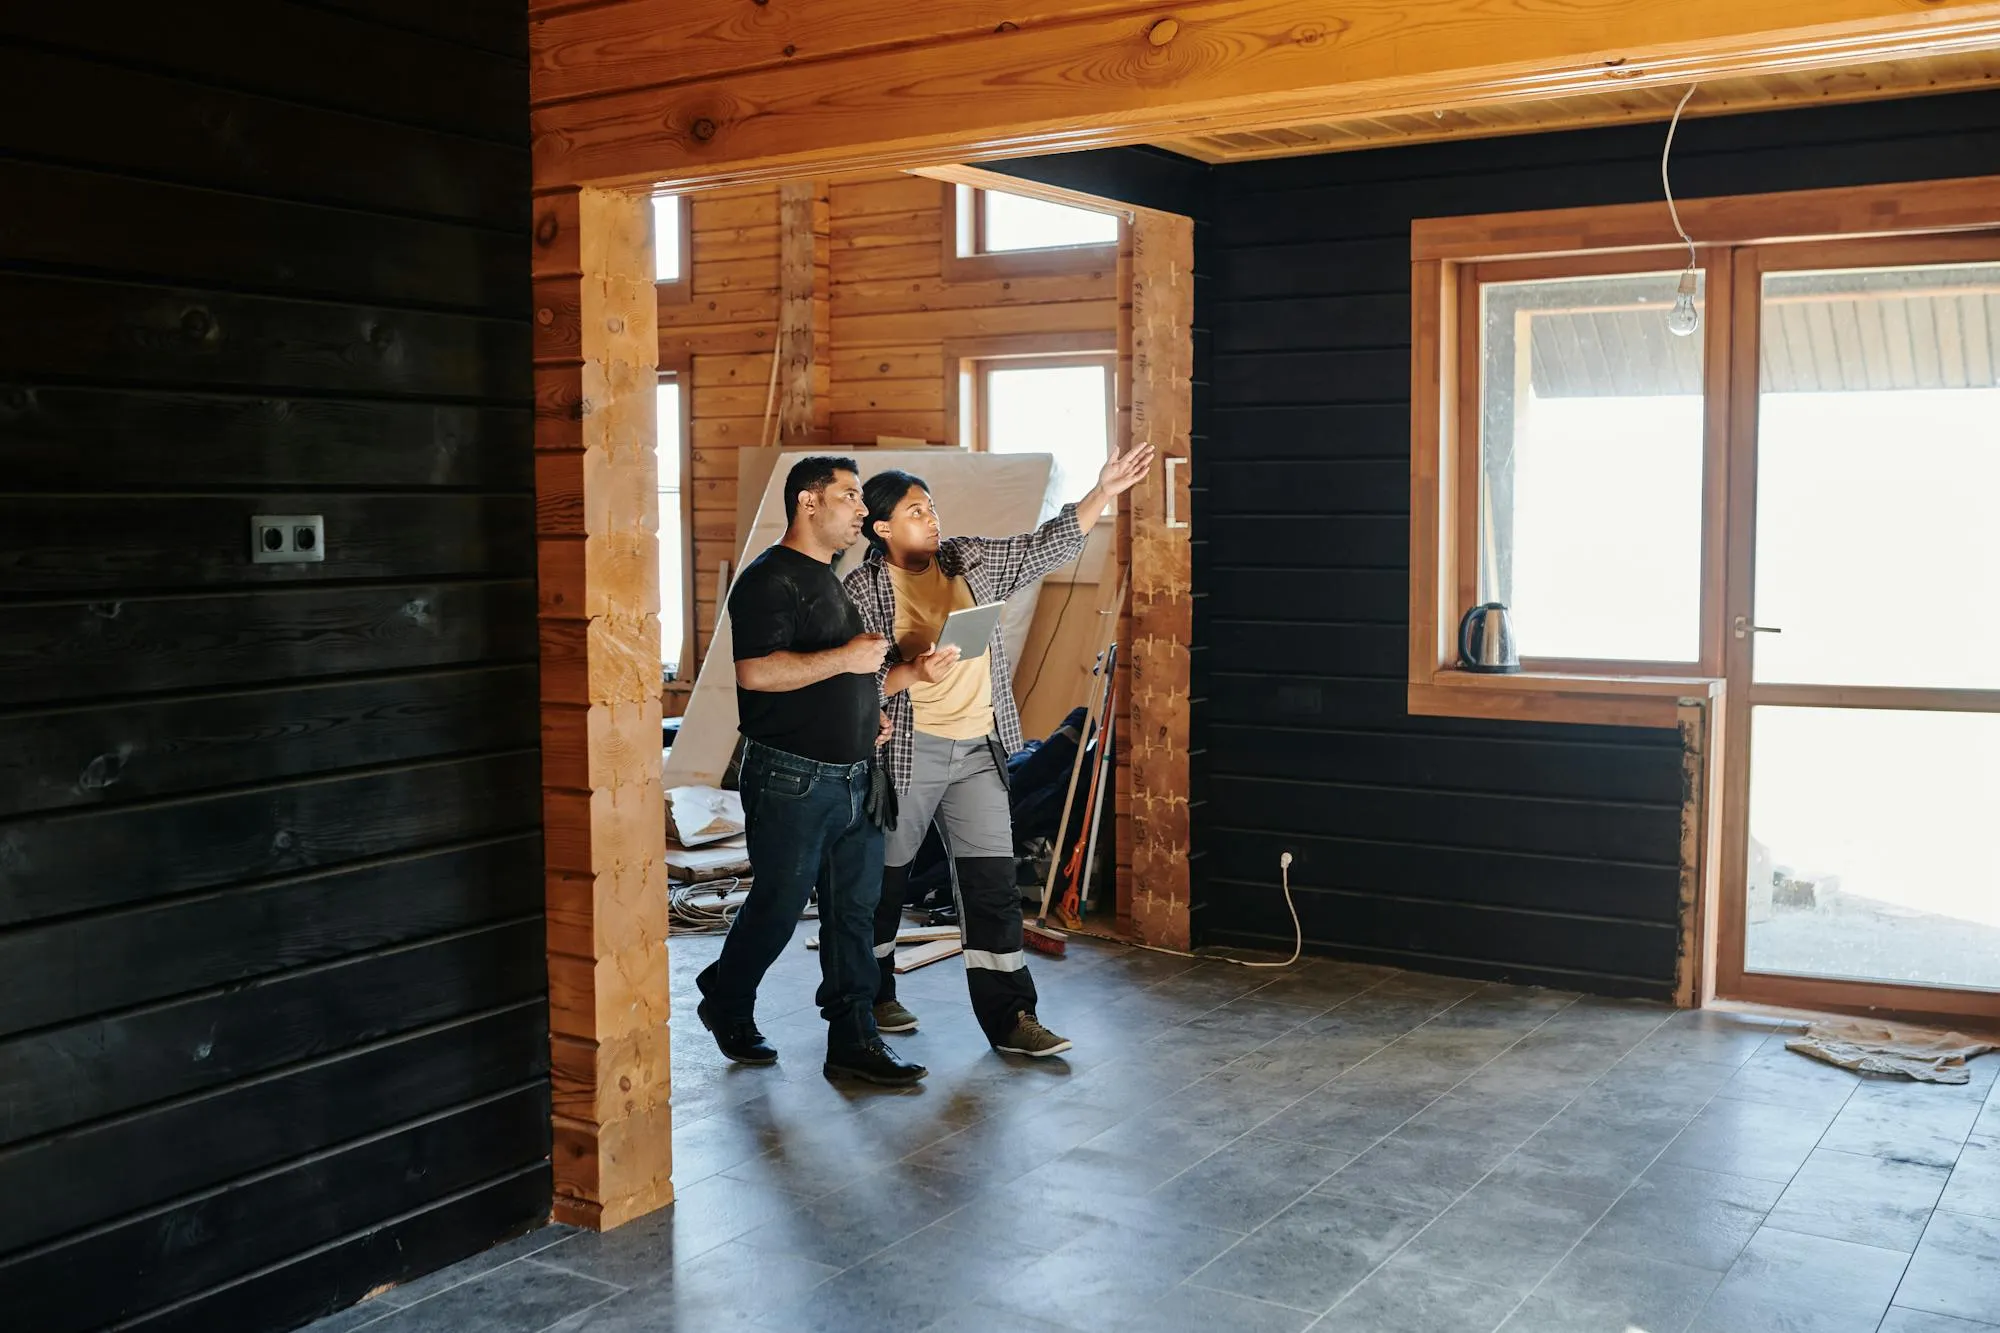
Key Questions to Ask Your Contractor
Once you have a shortlist, it’s time to interview your potential candidates. Think of this as a conversation to gauge their expertise and professionalism. A good project manager will welcome your questions. Start with the basics: How long have they been in business? Do they specialize in the type of hardwood you’ve chosen? Labor for hardwood installation often runs between $4 and $8 per square foot, so you want to be sure they have specific experience with your chosen material. Also, ask who will be performing the work—are they employees or subcontractors? Inquire about their estimated timeline and how they handle unexpected issues, like discovering subfloor damage. Their answers will reveal a lot about their process and how they communicate with clients.
Reading the Fine Print: Contracts and Warranties
Never move forward on a handshake alone. A professional contractor will provide a detailed written contract that protects both of you. Read it carefully and make sure it outlines everything you’ve discussed. The document should include a complete breakdown of costs for materials and labor, as well as any additional fees for tasks like removing old flooring or preparing the subfloor. It should also specify the payment schedule. Before you sign, ask about warranties. There are typically two types: a manufacturer's warranty on the flooring material itself and a contractor's warranty on the installation labor. Understanding these details ensures there are no surprises and gives you peace of mind that your investment in a beautiful remodeling project is secure.
Related Articles
Frequently Asked Questions
Why is there such a wide range in labor costs, even for the same room size? The final labor cost is less about the room's square footage and more about the complexity of the work. A simple, rectangular room with standard oak planks laid in a straight pattern will fall on the lower end of the cost spectrum. However, if you choose a harder, exotic wood, an intricate pattern like herringbone, or have a room with lots of corners and closets, the job requires more time, precision, and skill. Each of those custom cuts and detailed placements adds to the labor, which is reflected in the price.
Can I save money by removing my old flooring myself? You can, but it’s a task to approach with caution. While handling the tear-out yourself can trim a dollar or two per square foot from the total cost, you run the risk of accidentally damaging the subfloor. Gouging the subfloor or failing to remove all the old staples and adhesive can create problems for the new installation, potentially leading to repair costs that cancel out your savings. It's always a good idea to discuss this with your contractor first to see if it's a worthwhile trade-off for your specific project.
How long does a typical hardwood installation project take from start to finish? For an average-sized room without major issues, the entire process usually takes about two to four days. This includes time for removing the old flooring, preparing the subfloor, installing the new hardwood, and adding the finishing touches like baseboards. If your subfloor needs significant repairs or you've chosen a very detailed installation pattern, you should plan for the project to take a bit longer. Your contractor should be able to give you a clear and realistic timeline before they begin.
Is the most expensive installation method always the best one? Not at all. The "best" method isn't about price; it's about what's right for your home and the flooring you've chosen. For example, a glue-down installation is often necessary for installing engineered wood over a concrete subfloor, which is common in basements or condos. A classic nail-down method is the standard for solid hardwood over a wooden subfloor. The right choice is the one that provides the most stable and durable foundation for your specific situation.
What's the single most important thing to look for in a flooring contractor's quote? Look for a detailed, itemized breakdown of all the costs. A trustworthy contractor won't just give you a single lump sum. Their quote should clearly separate the price of the wood from the cost of installation labor. It should also list any additional charges for tasks like removing the old floor, preparing the subfloor, disposing of debris, and installing new trim. This level of transparency shows they've thought through the entire project and helps you avoid any surprise fees later on.